
LakoTermin for Business Owners: Set Up Online Booking Step by Step
September 4, 2026
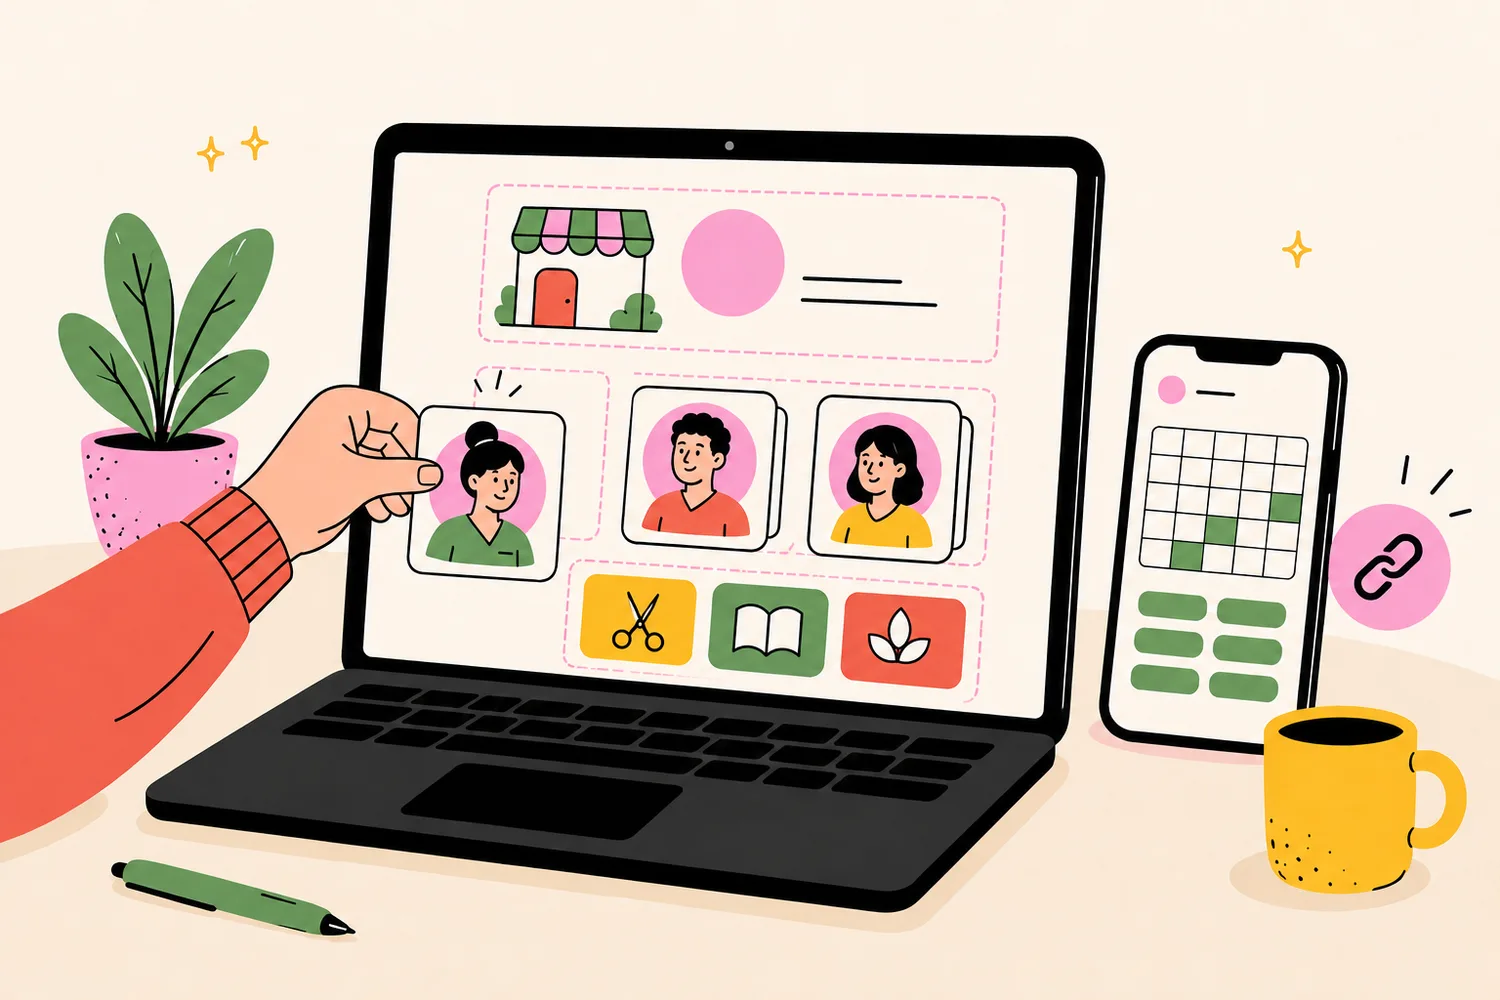
Welcome to LakoTermin! Thank you for choosing our service. We truly appreciate your trust and want to make getting started as simple and clear as possible.
LakoTermin lets you accept bookings online without unnecessary back-and-forth: clients can see your available times, choose a suitable slot, and book through your personal booking page.
The service is especially suitable for consultants, trainers, tutors, health professionals, beauty specialists, photographers, small studios, salons, and other businesses that work by appointment.
Quick start: what you need to accept online bookings
- Confirm your email and sign in to the owner dashboard.
- Create a company and set its opening hours.
- Add at least one service with a price and duration.
- Add a specialist, assign the service, and set working days.
- Open the public page, check the available slots, and share the link.
The key rule: slots appear only when a service is assigned to a specialist who has working hours. Those hours must stay within the company’s opening hours.
Step 1. Register and confirm your email
On the owner registration page, enter your first name, last name and email, plus a phone number if you wish. Create a password of at least eight characters containing a letter, a number and a special character. Accept the terms, complete the security check and submit the form.
LakoTermin will email you a confirmation link. Open it to verify your address, then sign in. If the message is missing, check Spam or Promotions, or request a new email. You can later enable two-factor authentication so every sign-in also requires a one-time code from an authenticator app.
Step 2. Get to know the owner dashboard
The dashboard brings every online booking tool together:
- Company Info — contacts, description, opening hours, photos and public link;
- Services — names, prices, durations and service photos;
- Employees — your team, specialisms, services and working schedules;
- Bookings — reservations, filters, statuses and editing;
- Reviews — customer ratings and company replies;
- Profile Settings — personal details, password, 2FA and analytics settings;
- Subscription — your plan, renewal date and limits;
- Analytics — bookings, revenue, cancellations, reviews and occupancy;
- Extras — Instagram Stories templates and calendar sync;
- Guide — built-in help for every main section.
On desktop these sections are displayed as tabs. On mobile, open the menu in the header. Badges beside Bookings and Reviews alert you to new activity.
Step 3. Create your company page
Open Company Info and add a company. This becomes the foundation of your public booking page, so complete it as if you were welcoming a new customer in person.
Name and contact details
The company name is required and must be unique. It appears in search and on your public page and is also used in the public URL. Add a current email, phone number and address so customers can contact and find you. If you operate from multiple locations, create a company for each one, provided your plan allows it.
Social profiles and website
You can add Telegram, Instagram, Viber and a website. Enter only the username, without @, for Telegram and Instagram. Viber requires a phone number, while your website should include the full address, such as https://example.com.
Description, currency and rating
Explain what you offer, who you help, what makes you different and where you are based. Write naturally; LakoTermin translates a description entered in one language into the other two. RSD is the default currency, and the selected currency applies to all company services. Changing it later recalculates existing prices at the current exchange rate, so review the amounts before saving. You can also choose whether your average rating and review count are public.
Company opening hours
Set opening and closing times for every weekday. These are the outer limits for all online bookings: no employee can start earlier or finish later. Mark non-working days as Closed. They become non-working for employees automatically; reopening a day restores the previous hours for employees whose day was closed by the system.
Photos
Upload a cover photo plus images of your space, work and team. The cover opens the gallery, and you can adjust its crop. You may select photos before the company is first saved; they will upload automatically after creation.
Owner email notifications
- New booking email arrives when a customer books online. It is not sent for bookings you create manually.
- Daily schedule email arrives at 18:00 Belgrade time when you have bookings for the next day. It lists time, customer and service, grouped by specialist. Multiple companies are combined in one email.
Step 4. Add services
Open Services and create your first service. Every service belongs to a company, so create the company first.
- Name — a clear customer-facing name;
- Price — in the company currency; 0 means free;
- Duration — the real treatment time in minutes;
- Description — what is included, who it suits and any important conditions;
- Photos — a cover and examples of your work.
Duration is crucial because LakoTermin uses it to calculate availability. If an appointment usually takes 90 minutes, enter 90 rather than 60 so adjacent bookings cannot overlap. Names and descriptions are translated automatically. If you run several companies, services are grouped by location.
Step 5. Add a specialist and assign services
Go to Employees. Enter the person’s name, role, photo, short bio and spoken languages. Their phone number is visible only to the owner. A square portrait usually looks best in the customer-facing specialist card.
Assign at least one service. A specialist can offer several services, and a service can be assigned to several specialists. You may save an employee without a service, but customers cannot book that person. Languages matter too: when customers filter by language, employees without the selected language are hidden.
Weekly or shift schedule
Choose a Weekly schedule based on weekdays or a Shift schedule such as two days on, two days off. A new employee’s weekly hours are copied from the company and can then be narrowed. They cannot extend beyond company hours.
For shift work, enter the number of consecutive workdays and days off, the common start and end times, and the cycle start date. Company closure days are skipped and the remaining cycle shifts to the next open day. You can also set a recurring break, such as 13:00–14:00; no slots appear during it.
Step 6. Check that free slots appear
Before publishing, view the setup like a customer. If there are no slots, check that:
- the company is open on that day;
- the service exists and has the correct duration;
- the service is assigned to the chosen specialist;
- the specialist has an enabled working day and valid hours;
- the time is not blocked by a break, day off or synced personal event;
- another booking has not already taken the slot.
Click Schedule beside an employee. The calendar shows the number of slots and the first available times for each day; “+N” opens the complete list.
Step 7. Manage schedules and create bookings manually
One-time bookings
Click a free slot to open a form with the date and time already filled in. Alternatively, select a day and click New Booking. Choose the service and employee, add the customer’s details and an optional note, then save.
Recurring bookings
For regular customers, choose Recurring Booking, select weekdays and available times, a start date, and a period from one to twelve months. LakoTermin checks every occurrence for occupied slots, days off and out-of-hours times. If conflicts are found, return to the form or confirm creation. A series can be extended; cancelling it affects the current and future bookings but keeps past history. The customer receives one summary email with all dates.
Days off, holidays and sick leave
Use Add Leave to block one or more days and identify them as a day off, holiday or sick leave. For a single date, use the quick Add Day Off action. Blocked days show no availability and can be reopened from the selected-day panel.
Select any calendar day to see all its bookings in the side panel, where you can edit or cancel them.
Step 8. Share your link and receive your first booking
Copy the public company link and add it to your Instagram bio, website, Google Business Profile, messengers and customer messages. You can also copy a specialist-specific link that takes customers directly to that person.
The customer chooses a service, specialist, date and available time, signs in or registers, enters contact details and confirms. The booking appears in your dashboard and, if enabled, triggers an email.
Before launch: open the link as a guest and make a test booking. This lets you verify photos, copy, price, duration, availability and notifications from the customer’s perspective.
Step 9. Work with bookings
The Bookings tab contains every reservation across your companies. New online bookings appear in a separate block and in the navigation badge; opening the section marks them as viewed.
Filter by company, employee and period, or change sorting. All time is enabled by default; disable it to choose dates and apply the filters. The table shows date and time, company, service, specialist, customer contact, amount and status:
- Active — created and assigned;
- Completed — the service was delivered;
- Cancelled — the appointment was cancelled.
Click an active booking’s date to edit its time, specialist, service, customer details, note or status. Keeping statuses accurate improves revenue and cancellation analytics.
Step 10. Reply to reviews
New reviews add a badge beside Reviews. Filter them by company, rating, specialist and reply status. Each item shows its rating, date, text and associated employee, if any.
Click Reply to publish a company response. Customers can see it. You can edit a reply later, but cannot delete it. A short personal response goes a long way: thank customers for positive feedback, and answer criticism calmly while offering to continue the conversation privately.
Step 11. Set up your profile and account security
Under Profile Settings, update your name and email. A new email immediately becomes your sign-in and notification address. PIB and Matični broj are optional and used only on subscription invoices.
You can also change your password and enable 2FA with Google Authenticator or another compatible app. If you registered with Google and never created a password, continue using Google sign-in. Owners of multiple companies can select each one and enable or disable its Analytics section separately.
Step 12. Review your subscription and plan limits
Subscription shows your plan, status, billing period, price, expiry date and limits. The number of companies and employees depends on the plan; after a limit is reached, new items cannot be added.
If you have no active subscription and the trial is available, choose a plan and start 14 free days, or proceed to payment. Current prices are always shown in the dashboard. Monthly auto-renewal can be toggled off; access then continues until the paid-through date. Yearly plans are paid manually and do not auto-renew.
An upgrade takes effect immediately with a prorated charge, while a downgrade begins on the next billing date. Your data is retained after expiry, and the dashboard shows the end of any grace period. Renew before that date to keep online booking running.
Step 13. Use analytics to grow
Once bookings accumulate, Analytics turns activity into useful business insights. Select a company or all companies, a date range and display currency. Quick options include Today Only and All Time.
The overview covers bookings, completed-booking revenue, completed and cancelled visits, lost revenue, review count, average rating and positive reviews. Basic and Professional plans also include popular services, frequent cancellations and booking conversion. Select one company to compare page views with successful bookings.
Professional adds employee-level performance and schedule occupancy: bookings, earnings, average ticket, ratings, lost revenue, occupancy by weekday and busiest hours. Use the data to promote successful services, investigate cancellations, fill quiet hours and balance workloads.
Step 14. Connect extra tools
Instagram Stories templates
Under Extras, create a vertical 9×16 story graphic with free appointments. Choose the background, headline, font, colours and layout, then select a company, specialist, date and slots. Download it or save the design as a reusable template.
Apple and Google Calendar
Calendar sync prevents double booking: an employee’s personal events block matching availability, while customer bookings are written to their calendar. Apple Calendar requires the employee’s Apple ID and an app-specific password, not their main password. Google Calendar opens a Google sign-in window where the employee grants access.
Both integrations sync about every 15 minutes and also offer manual sync. By default, all iCloud calendars or the primary Google calendar are used; you can configure which calendars should block slots. Disconnecting makes previously blocked personal-event slots available again. Connect each employee separately.
A simple daily routine for owners
- Open Bookings and review new reservations.
- Check employee schedules for today and tomorrow.
- Add customers who booked by phone or messenger.
- Mark delivered services Completed and cancellations Cancelled.
- Reply to new reviews.
- Add leave or adjust hours as soon as plans change.
Once a week, review analytics for demand, cancellations and occupancy. Before holidays or vacations, update schedules early so customers always see genuinely available times.
Frequently asked questions
Why can’t customers see any free times?
Usually the service is not assigned to the specialist, the employee has no enabled working day, or their hours fall outside company hours. Also check breaks, leave, existing bookings and synced calendar events.
Can an independent professional use LakoTermin?
Yes. Create a company as your professional page, add yourself as the specialist, configure services and hours, and share the link on social media.
Can I manage several salons or branches?
Yes, if your plan limit allows it. Each company can have its own address, contacts, hours, services, employees and analytics.
How do I book someone who called me?
Open the relevant employee’s schedule and click a free slot, or select a day and choose New Booking. Add the service and customer details, then save.
Can I block several vacation days?
Yes. Choose Add Leave in the employee schedule, select the date range and absence type, and save. Every slot in that period will be blocked.
Where can I find help for a specific section?
Each main tab includes a Guide for this tab link. The complete table of contents is available under Guide.
You are ready to welcome customers
After your test booking, the public page is ready. Share the link wherever customers already talk to you and let them choose a convenient time without back-and-forth messages or calls.
Thank you for being with LakoTermin. To us, this is more than another dashboard setup: it is the beginning of a relationship with a new customer we genuinely want to help. Explore at your own pace, return to this guide whenever you need it, and use the built-in tips. We designed LakoTermin to become a dependable part of your everyday work.